Tuesday, May 24, 2011

UNIQUE OBLONG KNOT TUTORIAL

This is a knot that I really like, this being the second time I have posted this knot, I want to make it clear and easy for anyone to be able to tie it, although a clearer tutorial is available in The Complete Book of Decorative Knots. In my previous post I included a diagram to tie the knot, in this post I have shown each step in tying this knot. I would suggest for the first timer in tying this knot to pin the cord down exactly as I have in the illustration, the tighter you pin it together, the easier it will be to snug it up in the end.
Click the image for a larger view.

This knot can be used for multiple purposes such as zipper pulls, lanyards, etc.

More techniques using this knot will be posted soon, I'm building a new light tent so that I can take better images of my knotwork and once that's done I will be taking photos of some of the lanyards I've created using this knot. Also I may post a tutorial on creating a Light Tent like the one I'm currently building, although I don't know if there is enough interest in the subject to be worth posting it (let me know if you would be interested).


Tuesday, May 17, 2011

Unique Survival Fishing Kit

Dave Canterbury has a video showing his pocket fishing kit in action which gave me the idea of creating of my own. The kit fits conveniently in your pocket or tied to your belt loop using the Bottle Sling Knot that I tied on my version.

For a complete list of materials and how to put the items together, click the Continue Reading button.


MATERIALS CONTAINED INSIDE KIT:
  • 25-30yds of 6lb. test Berkley FireLine
  • 5 Feet of paracord (not including the paracord needed for the Bottle Sling Knot)
  • Variety of Jigs and Hooks
  • Weights/Sinkers
  • Swivels
  • Floats
  • Berkley Gulp Waxies (in your choice of colors)
  • Protein Shot tube or Tube Vault
BUILDING THE SURVIVAL FISHING KIT:
Start by obtaining your tube from either Wal-Mart ($1.96) or CountyComm ($2.45), you might want to build your own but the tubes are the perfect size so I see no need in building one.
I scored a line around the tube with my Dremel that will hold the fishing line on the tube, most kits online keep the fishing line attached to the tube but if you had to carry the kit around for a while the fishing line would get frayed so I chose to keep mine inside the tube.
Once you have that done, gather a few feet of paracord for the Bottle Sling Knot, a video to tie this knot is available here.
Now cut some cardboard to hold the extra paracord and fishing line and then find some small baggies to enclose your weights and hooks and that will finish your fishing kit.


Monday, May 16, 2011

Unique Germ Grenade

With all the germs floating around nowadays, we all need to keep one of these on hand. The Germ Grenade has been floating around the internet everywhere but usually only for sale.
The hand sanitizer I chose to use was made by Purell and can be picked up in the checkout line at your local Wal-Mart for less than $2.00 so go grab one and tie one of these for yourself to keep in your vehicle or on your person.
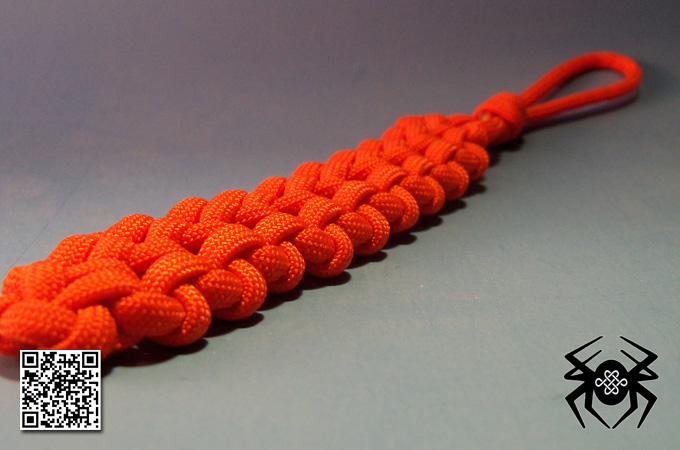
I found a tutorial for tying the Solomon Bar design at ITS Tactical.


Thanks to a collaboration with Stormdrane I created what I think is a better looking grenade. I tied it using West Country Whipping, I used this tutorial to tie the grenade but a tutorial really isn't necessary other than getting started because this is one of the easiest designs to tie. Most of the time spent tying this grenade will be spent adjusting the cordage once it has been tied, I used my trusty knitting needle (a tutorial for creating this needle will be available later) which although it has a sharp point, it won't damage the paracord. Just keep adjusting until you reach the desired design.
If there is enough interest in this design I will include a tutorial for creating this type of grenade.

For more grenade images and grenade tying techniques, click the Continue Reading button...


NOTE: If tying a grenade using the West Country Whipping technique, you will need to keep in mind that the bottle shape will have an effect on the final outcome of the look of the grenade. The Purell bottle I used had hard edges which looked better to me than the GermX bottle because it was rounded.


This was the first West Country Whipping
I attempted, I used a GermX bottle for this one.

Friday, May 6, 2011

Unique Paracord Survival Gear-Episode I: Ripcord Sinnet


The first in the Survival Gear Series is one of my favorite survival bracelets, the Ripcord Sinnet. JD @ TyingItAllTogether has a video showing the tying technique and the unraveling process so I won't get into that other than to say that this bracelet can be unraveled in less than thirty seconds leaving a single 8 foot strand of paracord ready for survival use.

Click the Continue Reading button for more variations on tying this knot.


I varied the original tying technique by tying a 3/4" side release buckle to the red bracelet. The other bracelet was tied using the original tying technique  except I added a B.D.U. button to an olive drab bracelet that used somewhere around 9-10 feet of paracord.


 Ripcord Keychain Fob