Monday, April 23, 2012

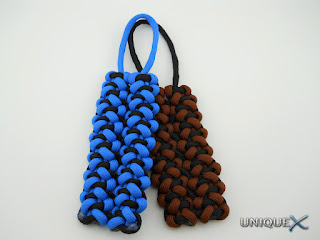
TYING THE WIDE COBBLED SOLOMON BAR

I am truly pleased with the support from my readers, I asked you to click on the advertising links and try to reach five dollars in advertising revenue in one day and you really came through, at last count it was over seven dollars, Thank You.
Since you did your part, I've been working for the past several hours to put together the tutorial that I promised.
As with most of my tutorials, I'll be including the tutorial in PDF form and a shorter version that is in image format.


Tuesday, April 10, 2012

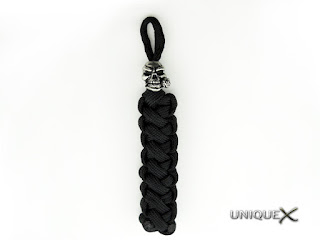
CRISSCROSSED FIRECRACKER SINNET FOB

This is an original design by JD of TyingItAllTogether, found in the photos of some of his new work on his Twitter channel.

This is a really great looking design, though it may not sparkle as well as it should in this monochrome format, but I kind of dig single-plain colors for fobs that I intend to carry on my key chain.

Although JD keeps churning out new and innovative tutorials, to my knowledge he hasn't release a video for tying this design yet.

At this time I am not releasing a tutorial showing the tying technique. If JD decides to create a video showing how to tie it, he will do a better job of explaining it. However, if you familiarize yourself with a couple of his videos, you should be able to tie the design. Watch the following video by JD titled "How to Make a Paracord Firecracker Sinnet (Key Fob) by TIAT", which is almost the same, you just need to crisscross the cords.
If you still can't figure out how it was tied, review one of his other videos, How to Make a Corset Spine Bracelet by TIAT, this shows the crisscrossing method. You may also want to view JD's original version of the Crisscrossed Firecracker Sinnet which is tied in three different colors, this will make it easier to see where the cords should go.
Notice: In case you did not see the previous section, the original knot design was labeled and created by JD of TyingItAllTogther.
SOURCES AND REFERENCES

Monday, April 9, 2012

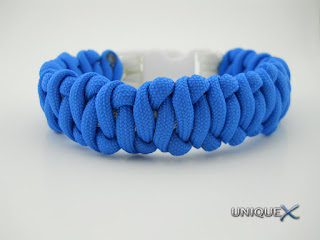
HOW TO TIE A WAVE WEAVE BRACELET


This design was created by JD of TyingItAllTogether, I am only showing how to tie it and attach it to a buckle. I am frequently asked how I attach buckles to bracelets, since it's hard to explain, I thought I would show it in this tutorial. The method used to attach this bracelet to a buckle will work on many different types of knot designs.

This tutorial is broken down into three parts, but for a better explanation of how to tie this bracelet, I've uploaded the tutorial in Adobe Acrobat PDF form. To download the tutorial, right-click on the following link and select "Save As", or just click it to open it in your browser: Download Tutorial.

SOURCES AND REFERENCES

Thursday, April 5, 2012

TURK'S HEAD FLASHLIGHT


In a previous post, I presented the Braided Turk's Head Lanyard. It was originally designed by Trident and creates a stylish lanyard, I added the lanyard to a Turk's Head-handled flashlight.
This design shows the versatility of the Long Two Bight Turk's Head and has been a favorite of mine for a while.
To create the lanyard for the flashlight, I used two four feet long strands of Tiger Camo paracord followed by twelve feet of Black paracord atop the braided strands.  I don't remember the total length of cord used for the flashlight but somewhere around ten feet should be sufficient.

To tie the lanyard, start by middling two strands which will leave you with four equal lengths. Start braiding by following my Diamond Braid Stitch tutorial and braid the entire length of cord to the ends.


Complete the lanyard by tying a Long Two Bight Turk's Head atop the braiding. Use the first part of Bud Brewer's tutorial to tie the Long Two Bight Turk's Head. You will need to modify the tutorial to suit your needs, in the original tutorial, the first image shows three turns, you will need to keep going around the braiding until you have almost completely covered the braiding. Also, when making your initial turns over the braiding, for every turn you will need to skip two segments of braiding in order to make the end result look correct.
I finished off the lanyard by attaching a 1/2" D-Ring and small lobster clamp by using West Country Whipping to cover the splice.

The flashlight is straightforward if you have completed the lanyard, just tie a Long Two Bight Turk's Head and stretch the cord out to extend the opening. Make sure the end result is tightened so that no slippage will occur.

Stay tuned, I intend to place my own spin on the Long Two Bight Turk's Head tutorial and hopefully it will be easier for those who haven't been able to figure it out yet.

SOURCES AND REFERENCES